How to ... Set up and create Recurring Invoices
When you send the same invoices every now and then this function will make you life a lot easier. Below you will be shown how to set up and create recurring invoices.
Here is a short summary of the process:
- Create a Recurring Group. (All recurring invoices needs to be assigned to a group)
- Create a Recurring Invoice.
- Create a Recurring Batch.
- Reviewing of Created Batches.
First step is to create a recurring group. All recurring invoices needs to be assigned to a group. The group is what will be used when creating a recurring batch and all the recurring invoices linked to the group will then be created. For example, you can create two batches, one called "25" and the other "7". The "25" for all the recurring invoices that should be invoiced on the 25th of each month and then the "7" for all the invoices to be created on the 7th.
On the main menu, click on the "Recurring" menu and then select the "Recurring Groups" item.

A window will open to list all your recurring groups, now click on insert to create your group.

Now enter all the information of your recurring group, then click on "OK".

You should now see your new group in the list, you can close the window or create more recurring groups as needed.

You can repeat the steps and create more recurring groups as needed.
Now you need to set up the recurring invoices.
On the main menu click on the "Recurring" menu and select the "Recurring Invoices" item. This will open a window and list all the recurring invoices.

Next, click on the "Insert" button to add a new recurring invoice.

Complete all the fields and add the items that should reflect on the invoice, then click on "OK".

That is it, you should see your invoice in the list.
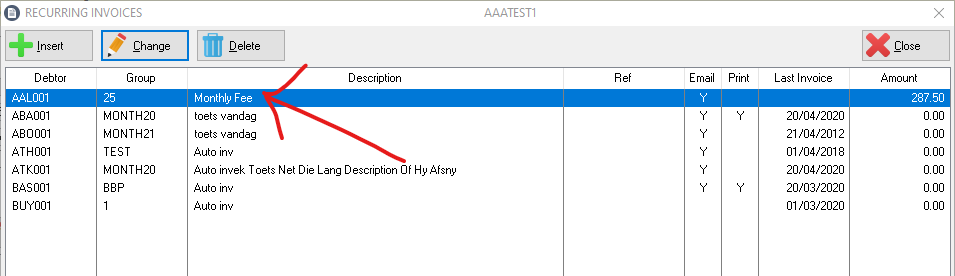
Continue to add all your invoices as needed and when done, click on the "Close" button. You can at any stage add more recurring invoices when needed.
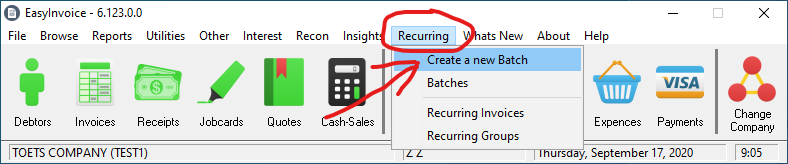
When the time comes you can create the recurring invoices.
Start by clicking on the Recurring menu on the main menu, then selecting the "Create a New Recurring Batch" item.
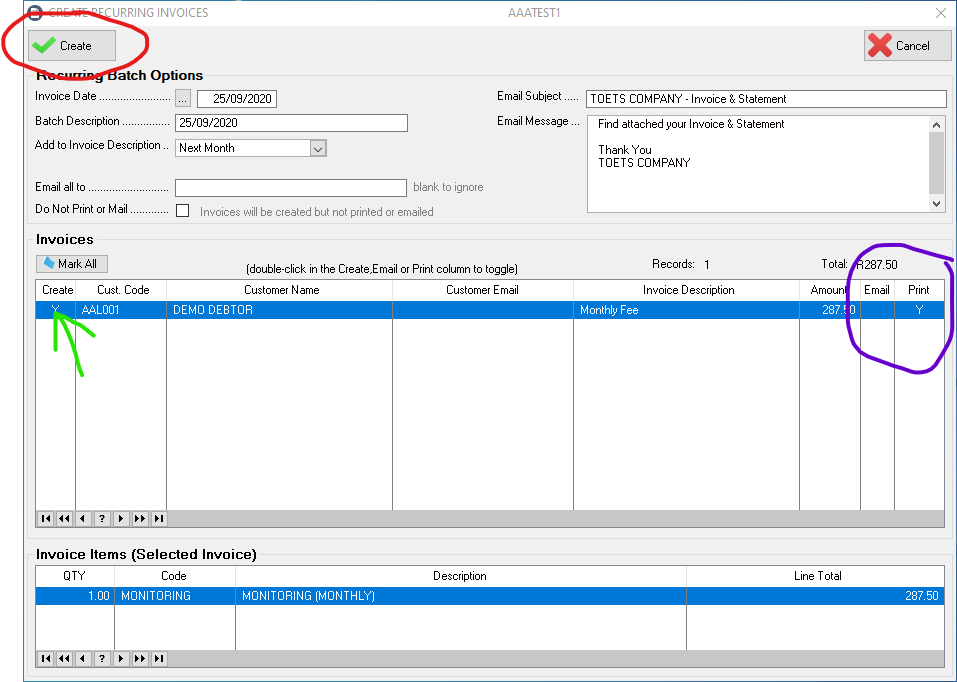
On the first window which opens, select the recurring group you need to create the invoices of. Then also the date the invoices will be created for. Click on "OK".

The following window will open with all the invoices linked to the Recurring Group.
- Make sure you mark all (double click in the "create" column next to each invoice) the invoices you want to create or click on hte "Mark All" button to mark all invoices, see the Green arrow for reference.
- For each invoice you can also change the default delivery method (see the purple circle below), double click in the colum to toggle.
- Final step is to click on the "Create" button, the invoices will now be generated.
From time to time you might need to credit a batch, delete or just view the invoices for a batch.
From the main menu click on the "Recurring" menu, then select the "Batches" item.

A window with a list of all the batched will be displayed. From here you can select a batch and then perform many admin functions.

Created with the Personal Edition of HelpNDoc: Full-featured Kindle eBooks generator