Recon
Allows you to manage the bank accounts, import transactions from you bank and then reconcile the transactions.
Follow these steps to insert, change or delete bank accounts.
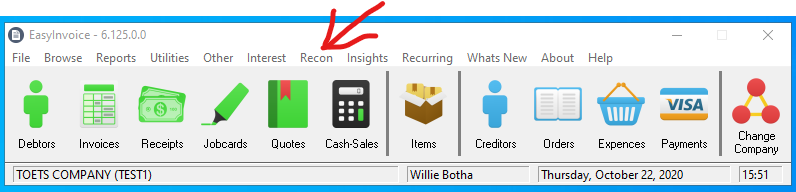
1. Click on the "Recon" menu.

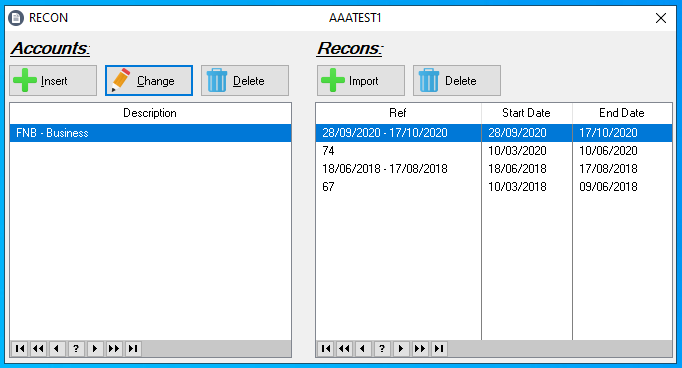
2. The Bank Account Window will open where you can manage you bank accounts. The buttons under the Accounts header allows you to create, modify and delete bank accounts.
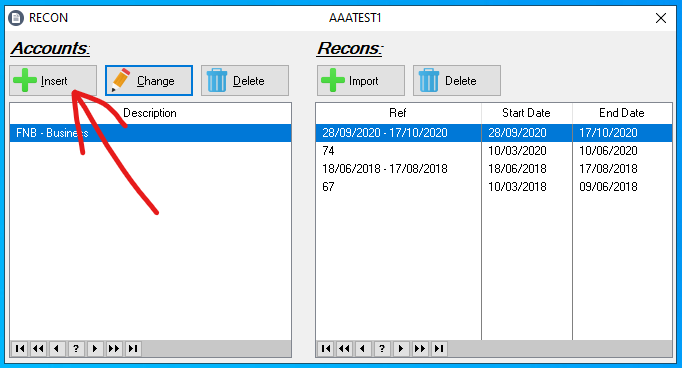
3. To create a bank account, click on the "Insert" button.
4. The Account Update window will open, now complete the fields and click on "OK" to add the record.
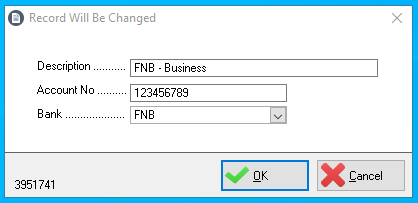
Fields Explained Below:
Description
A description for the bank account.
Account No
This is the bank account number.
Bank
Select the Bank here. Should your bank not be in the list the bank is not yet supported. Contact us to get your bank added.
Import Bank Transactions to Recon
These steps will guide you to import your bank statement/transactions and then recon (and link) transactions to payments and receipts.
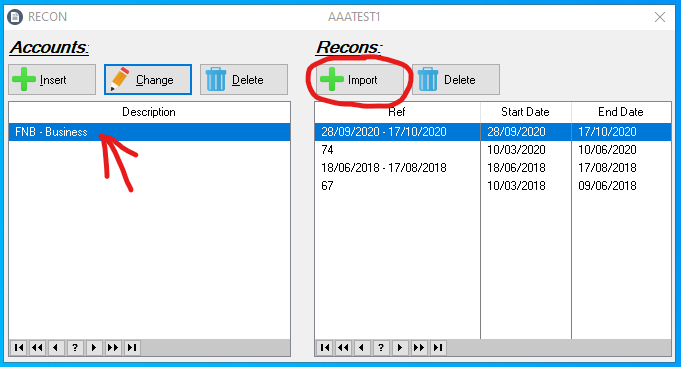
1. Open the Bank Accounts window by clicking on the "Recon" menu.
2. The Bank Account Window will open.
3. Now, to import a new statement/transactions, first select the account in the left list and then click on the "Import" button.
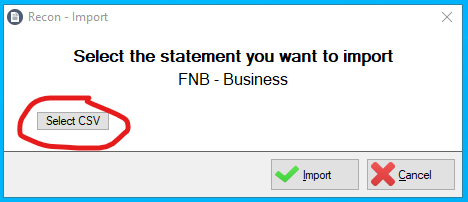
4. Now you will be asked to select the CSV file you downloaded/recieved from you bank. Click on the "Select CSV" button, navigate and select the bank file, then click on the "Import" button.
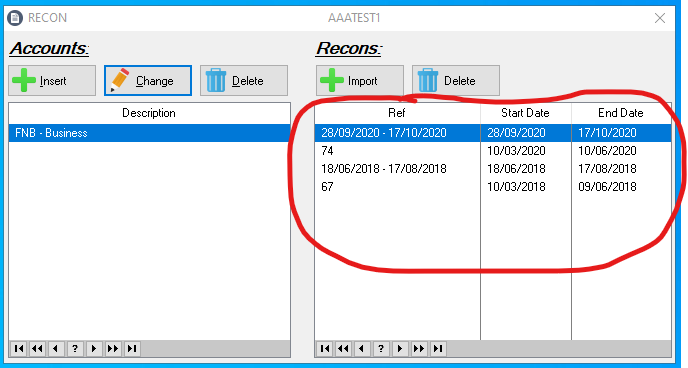
5. When the import is done, you will notice a new record in the Recon list for the data you just imported from the bank file. Next is to link the transactions to records in the EasyInvoice system. Double-click on the record of the file you imported to see all the transactions.
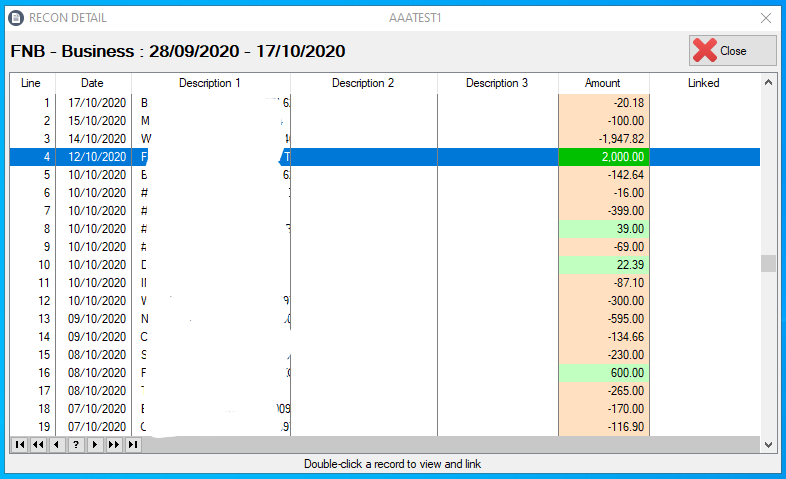
6. This window will open with the transactions imported from the bank file. Some transactions might be linked automatically, if not you can manually link transactions. The last colum "Linked" will indicate if a transaction is linked with a reference to the payment/receipt in EasyInvoice. Double-click on any transaction to link the transaction to a record in EasyInvoice.
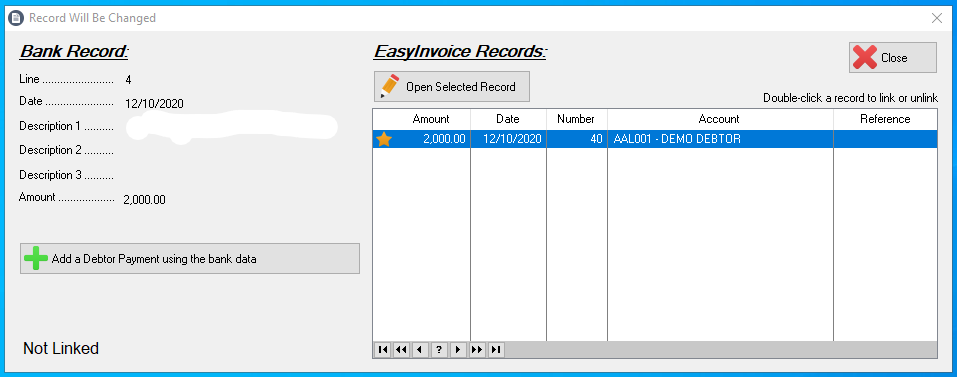
7. After you double-clicked you will see the following window. On the left you will find details of the transaction and on the right records in EasyInvoice which are close to the transaction. If no records are available to link, it might be that the payment/receipt have not yet been captured, you can easily add the payment/receipt using the button in the bottom left. Finally to link the transaction to a EasyInvoice record, double click on the record in the right.
Created with the Personal Edition of HelpNDoc: Single source CHM, PDF, DOC and HTML Help creation