First time opening EasyInvoice
After the installation have been completed and you launched EasyInvoice for the first time, you will be asked to select and do a few things to get EasyInvoice ready for use.
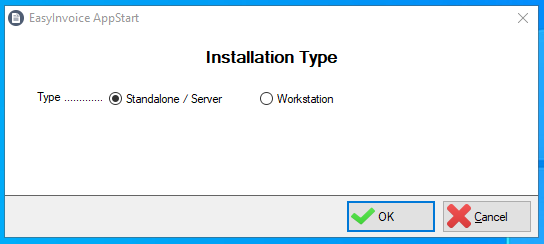
1. Installation Type
Select if the PC you are now using will be the Server or a Workstation.
For a Server, follow the steps below and for a workstation follow the steps in this link.
Select the "Standalone/Server" option. The "Server" is where the data will be stored. Click on "OK" to continue.
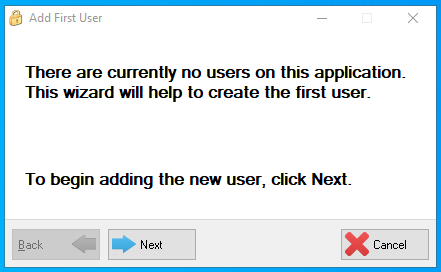
2. Adding the first user
Next you will be asked to add the first user, click "Next" to start.
Now enter the User's details, then click "Next" to continue. Note that the password for this user is exaclty the same as the username. The password can be changed after the user logged in to EasyInvoice.

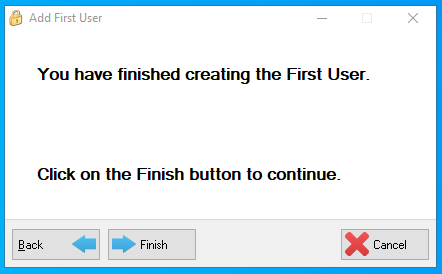
Click finish on the next window to close the window.
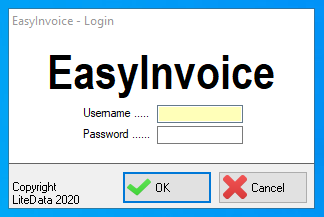
The "Login" window will now open, type in the user credentials of the user you just created and click on "OK"
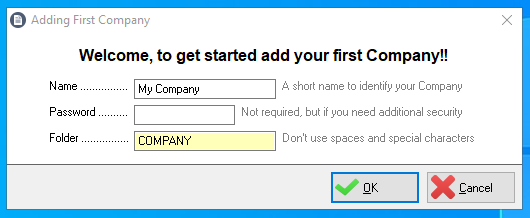
3. Creating the first Company (DataSet)
One great feature is that you can create multiple "Companies" in EasyInvoice. On the window that opens next, type in a name for your company and the folder to store the data in. Click "OK" once completed.
The Password is not required.
The Folder should not contain any spaces and special characters.
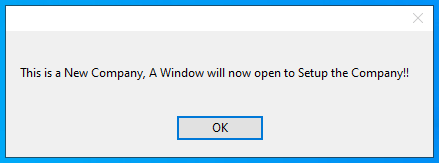
4. Setting up the Company settings
Next you will get a message to inform you that the company setup have to be completed. Click "OK" to open the company settings window.
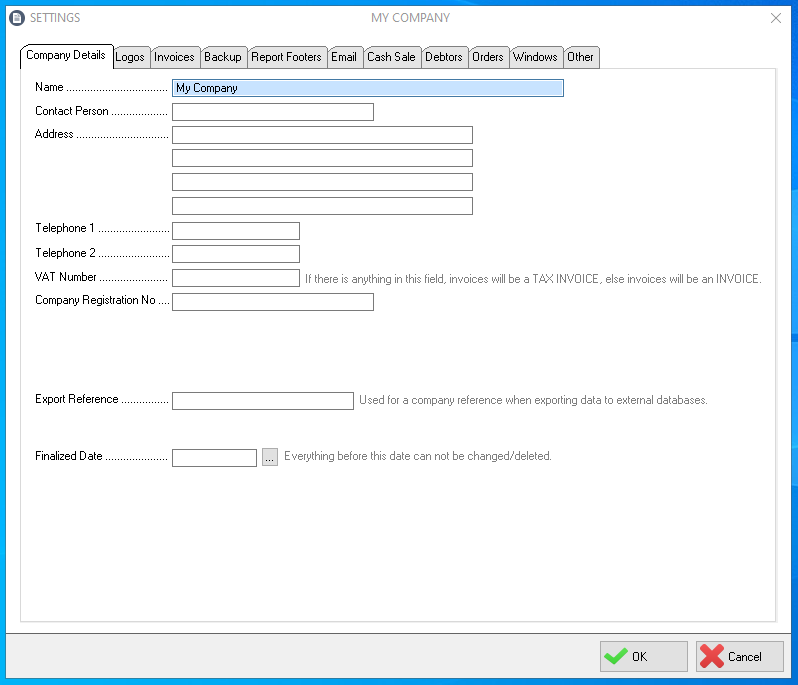
The company settings window will now open for you to complete. This can also be done at any stage from the "File" menu.
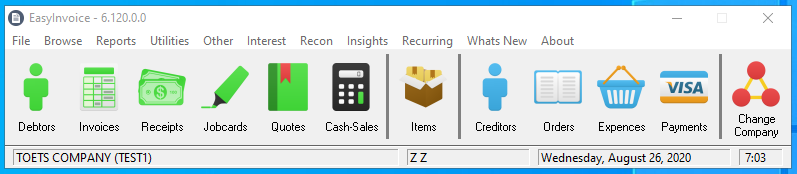
After clicking the "OK" button, EasyInvoice will open and ready to use.
Created with the Personal Edition of HelpNDoc: Free EBook and documentation generator